Dictation and transcription using Microsoft 365
Real-time dictation and transcription have historically been labour-intensive practices, requiring both a speaker and a transcriber. Now, Microsoft 365 offers improved productivity by taking on the role of the transcriber. Using Word, UQ staff can use the dictation and transcription feature to easily talk through their thoughts into words, eliminating the need for additional paid services.
How to use the dictate feature in Word
Do you often find yourself talking through your ideas?
If so, you may benefit from Microsoft 365’s real-time dictation feature. It will record your thoughts in a Word document format, allowing you to focus on your words.

Here’s how to use the dictate feature in Word:
- Launch your web browser and navigate to Microsoft Word. Create a new document or open an existing document in which you would like to dictate.
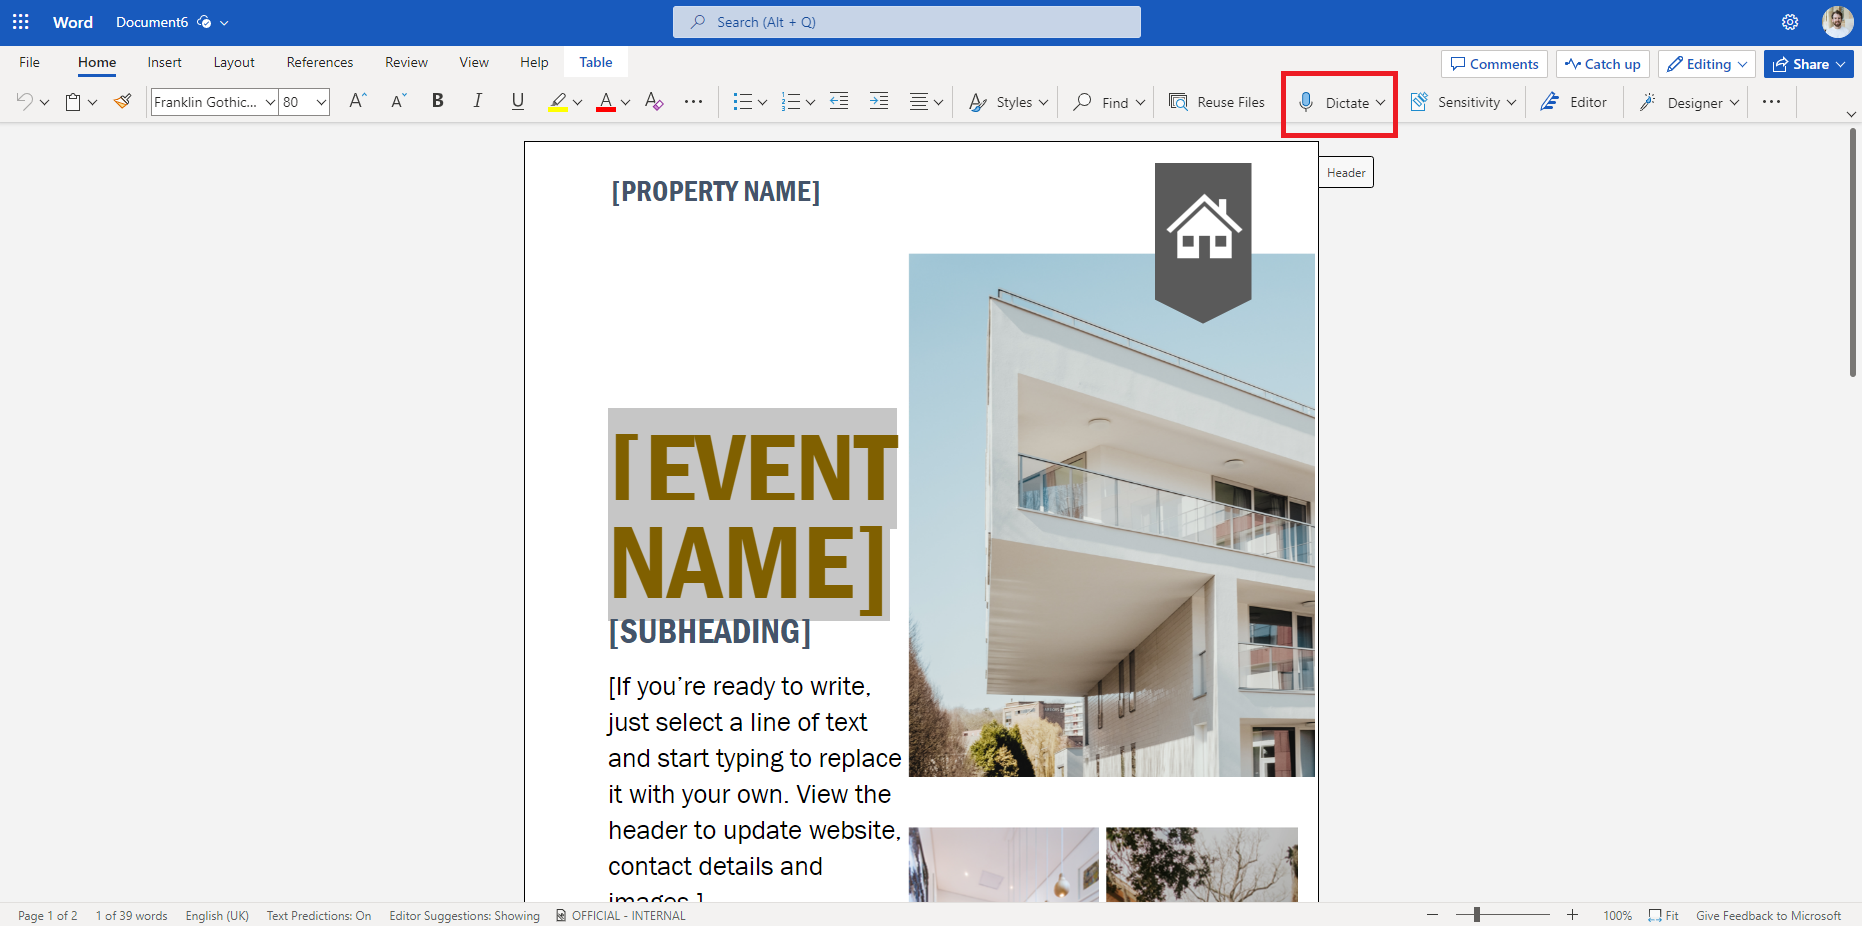
- In the Word toolbar, click on Dictate (pictured above). This should open the Transcribe pane on the right side of the document.
- Within the Transcribe pane, click on Start Recording to begin the transcription process. Speak clearly into your microphone, and Word will convert your speech into text in real-time.
- As you speak, you should see the transcribed text appearing in the document. Once you finish speaking, you can review and edit the transcription as needed.
How to use the transcription feature in Word
Transcription helps improve the productivity of meetings, webinars and other events that require minutes by creating a verbal record of what was said. The transcript can include timestamps and differentiate between speakers.
Here’s how to use the transcription feature in Word:
- Launch your web browser and navigate to Microsoft Word. Create a new document or open an existing document in which you would like to dictate.
- In the Word toolbar, click on the Dictate drop-down menu. Click Transcribe to open the transcription menu. You’ll then be able to select your preferred transcription method – from an audio file, or in real-time.
Transcribing an audio file
From the transcription menu, you can upload an audio file for transcription – for example, a voice memo from your phone. Word is compatible with .mp4, .m4a and .mp3 files. At present, each UQ staff member has a transcription allowance of 300 minutes of audio per month.
Microsoft Tutorial - Create a Transcript from a Pre-recorded File
Real-time transcription
Alternatively, you can start a recording from the transcription menu. This could be used to create a transcription of a meeting or similar live event.
It’s important to note that, when transcribing, you will only see a record of the text once the transcription has finished. If you require a written transcript visible live, say for accessibility purposes, you may be better suited using the transcription features in Microsoft Teams.
Adding your transcription to a document
Once your transcription has been processed by Word, you can choose to add it to your open document. From the Transcribe menu, click Add to document and select your preferred format.
Summing up – dictation and transcription in Word
If you found this blog helpful, please let us know - via our feedback form! At the same time, if there’s more you’d like to know about Microsoft 365, share your questions with us and we may address them in future training materials.
For those interested in digital tools adoption at UQ, a Change Champions program will be launched soon. The program is intended to build a cohort of Microsoft 365 advocates to help drive engagement with the platform among staff. If you would be interested in joining the program, please complete our EOI form.
Become a Change Champion
If you are passionate about digital tools adoption at UQ, please register your interest in the Change Champion network. As a member, you’ll be invited to contribute to the digital tool adoption efforts at the University . If you would be interested in joining the program, please complete our EOI form.
